Tuesday, May 28, 2013

Fencing Out the Puppies

Well I was hoping that I was going to get my veggies in ground this week. Oh well these things happen.  At least I got the poles cut, drilled and in, so all I have to do next week is plant, and set my irrigation.

Well let's get started.  I am using the 10' metal electrical conduit for poles.  The reason, in the past I use to use the 8' green garden stakes.  I discovered when a good wind would pop up, they would bend with the shade cloth attached.  FYI those green garden stakes are like 5 dollars and change.  The conduit is 2 dollars.  

 
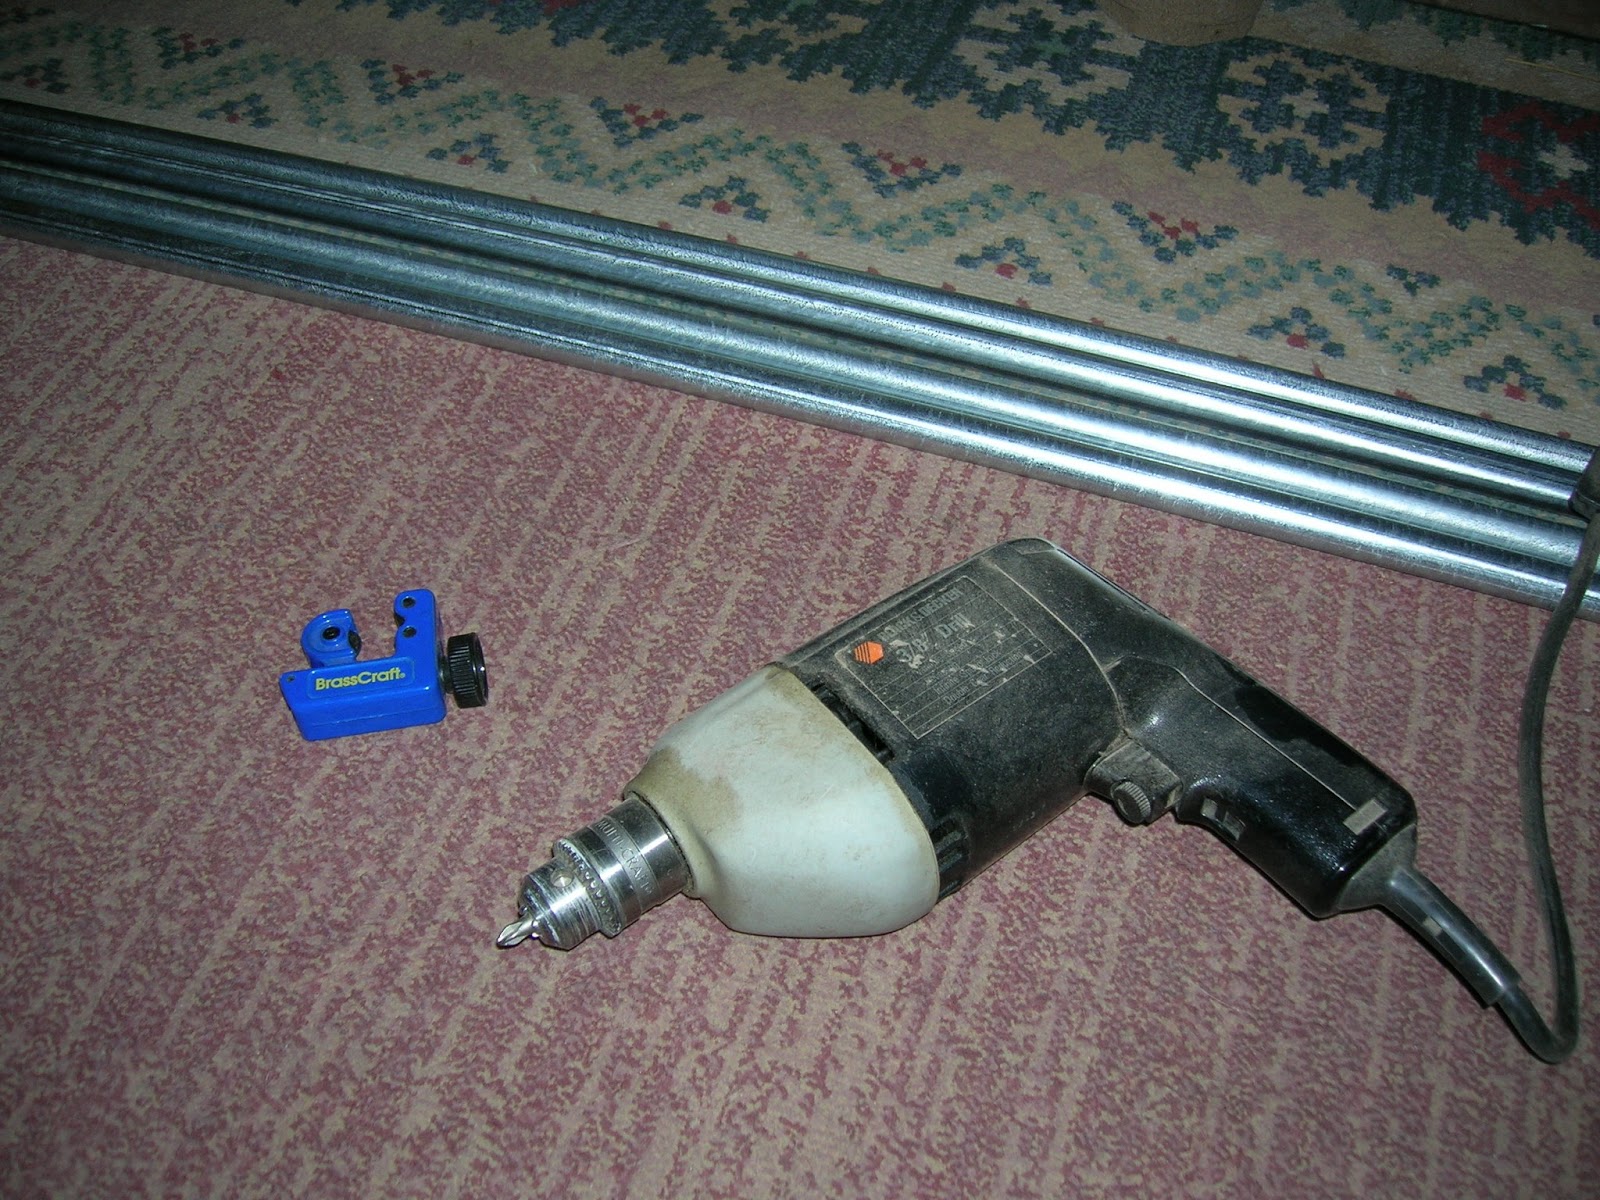
You need drill, and a metal pipe cutter.  I cut two feet of the pipe off, and drill two holes in the top of the pipe.


After I cut all my poles. I measured off the garden, and decided where to place the poles.  I am placing the poles every 6' apart.  Not only are the poles for holding up the shade cloth, they will also hold up the bird netting, and the outer poles will have the fence attached. 


I have most of my poles up.  I was shy 3 because I was originally going to space the poles every 7'.  When I go to work tomorrow I'll pick up the other 3 poles I need.  I drilled the holes with the water.  The same way I drilled the holes in the soil for the trees that were over watered, in my second blog. 


At this point it was getting too hot to work. I was thinking of putting up half the fence this evening, but I realized that I need the puppies to see the fence, and not run into it while they are playing.  They do play rough.  

Well that is all for this week. Next week the finished fence, and veggies in the ground. Yesssss.


Tuesday, May 21, 2013

Preparing the soil before tilling

Here in the desert we have a clay soil.  AKA caliche soil.  For the most part as long as you soak the soil the day before, and I mean for an hour.  Like any other clay once wet it is putty in your hands.  For those of you who have the true caliche soil which is usually about 2' below the top clay soil, you only need a garden depth of 14 to 16 inches.  As long as you are not over watering your veggies you should never have to deal with the issues that arise from not breaking through the caliche.  I set my water timer for 15 to 20 minutes.

So I tilled my soil today.  I borrowed a friends truck, and rented a tiller at 8:30 am started tilling around 9am, and finished at 10:45.  Yep that's it.  That's all I did today.  I wanted to get the poles in the ground today, and put the fence up to keep the dogs out, but living in the desert the heat won, so that is all I have for you.

Choosing tomato's 

I don't belive I informed you about the type of tomato to choose.  There are two types of tomatoes.  Determinate, and Indeterminate.  Determinate tomatoes will only produce for 3 weeks.  That's it.  Now unless you want to plant one every three weeks then go for it. For as many tomatoes that I want, I don't want to keep planting every three weeks.  Indeterminate tomatoes will keep producing till the freeze comes, and if you protect them from the frost they will keep producing.

Well this is a very short blog this week.  Join me next week for the finished garden.  

Woo!! Freakin" Hoo!!

Tuesday, May 14, 2013

Irrigating your Garden

Well I figure that I better get my above ground irrigation fixed before I plant the veggies in ground.  I refuse to water by hand.


This is my irrigation system.  I chose to do above ground because with an in ground garden you are always digging and or tilling in the soil from time to time.  The manifolds needed to be replaced because some little hairy 4 legged creature was chewing on it.  This creation of mine is hooked up to a garden hose.  On the spigot I have a hose timer.  When I leave for work in the mornings at 4:30 am, I turn on the timer for 20 minutes.  Here in the desert it is very important that I water early.  Reason is that the water in the hose heats up, and you don't want to water with hot water.


The part I have circled is a calcium inhibitor filter.  I change this out every year.  The first year I made one of these I was always splicing out my garden drip emitters because the calcium was clogging the emitters.  


That filter I got out of the area where the mister systems are sold.  It can screw onto garden hoses.  The other end of the filter screws onto a female PVC garden hose adapter.  The order I have connected all these parts is as follows.
 3' leader hose found in the garden dept. screw into the filter, screw that into a female PVC hose adapter,  

1. glue onto 4" 3/4 piece of PVC pipe                         2. glue onto 3/4" PVC Tee  
3. glue onto 8" 3/4" PVC pipe                                     4. glue onto 3/4" PVC Tee with threads for the nipple 
5. nipple screws into the Tee                                       6. 8 port manifold screws onto the nipple.  
7.Other end of Tee; glue on an 8" 3/4" PVC pipe        8.  glue a 3/4" Tee onto the PVC pipe 
9. Glue a 4" 3/4" PVC pipe into the Tee                     10. glue a 3/4" male PVC hose adapter onto the Tee, 

or if this is all you need glue a 3/4" PVC cap onto the pipe.  


(above: an 8 port manifold. They also come in 2 and 4 ports.)

On your two Tee's they will be open on the bottom.  Glue a plug into them.


In the above picture, what I have circled is from the left a female hose adapter, a shut off valve, a male PVC hose adapter.  The reason for the shut off is for those veggies once their roots are deep enough over watering starts to happen, so to avoid over watering I shut the flow of water for one day.  Th manifolds is what you attach you.  That part I will show when I put the veggies in ground.

Feel free to ask any questions below.


Tuesday, May 7, 2013

Making A Garden For Your Plant Eating Dogs.

Once upon a time there was a little girl who grew up in the desert.  Her Mom taught her everything she knew about growing plants.  As the little girl grew up almost every place she lived, she would have a garden.  Even living in apartments she found a way to grow veggies in pots.


Then one day the little girl got puppies.  


Yes that is one of the little monsters.  Her Brother is camera shy, and they did this to her garden.  Actually Katara is the culprit.


Her Brother Sokka is the digger, and he is not digging for cool place to lay.  Anyway back to the story.  For the longest time the puppies left the garden alone, because it was surrounded by bird netting.  Katara discovered that if she pulled on the netting, she could put a hole in it big enough to get through.  Katara started on the tomato plants first.  Since the little girl knew that the tomato plant is from the nightshade family, and also read that the plant can damage the liver, the little girl decided to pull up the tomato plants. 

Well without any tomato plants to chew on, Katata found the eggplant to chew on.  This plant was also not good to chew on since it was also giving the puppy the runs, so the little girl pulled up the eggplant also.  The squash was already attacked in August by a small grub the little girl had never seen before. She will use diatomaceous earth on the squash stock more often next time. 

The little girl realized that the puppy has a need to chew on plants, so instead of punishing the puppy, the little girl decided to make the puppy her own garden. 


The little girl discovered that Katara likes to lay in this spot, so she is planting herbs to start out.  Two mint plants in the front, and one basil in the back.  The little girl figures that once the mint takes holed, it will be difficult for the puppy to destroy it. 


Ok yes, I decided to use the bird netting.  I only need it to survive her a couple of weeks.  I need to use the garden fence for the garden.

THE END